PyBevy is in an early and experimental stage. The API is incomplete, subject to breaking changes without notice, and you should expect bugs. Many features are still under development.
Quick Start
Install PyBevy, create your first 3D scene, and see hot reload in action.
Install
Requires Python 3.12+.
pip install pybevy --upgradeUsing a virtual environment (recommended)
Create and activate a venv first:
python -m venv .venvmacOS / Linux:
source .venv/bin/activateWindows:
.venv\\Scripts\\activateLinux system dependencies
PyBevy's pre-built wheels link against system display and audio libraries. On most desktop distributions these are already present.
If you see an ImportError mentioning libwayland-client.so or libasound.so:
# Debian/Ubuntu
sudo apt install libwayland-client0 libasound2t64

# Fedora/RHEL
sudo dnf install alsa-lib wayland
Docker / headless environments also need a software GPU driver:
apt install -y libwayland-client0 libasound2t64 mesa-vulkan-driversALSA warnings about missing audio devices are harmless and can be ignored.
Create main.py
from pybevy.prelude import *
import math

def setup(
    commands: Commands,
    meshes: ResMut[Assets[Mesh]],
    materials: ResMut[Assets[StandardMaterial]],
) -> None:
    # Circular base
    commands.spawn(
        Mesh3d(meshes.add(Circle(radius=4.0).mesh())),
        MeshMaterial3d(materials.add(StandardMaterial.from_color(Color.WHITE))),
        Transform.from_rotation(Quat.from_rotation_x(-math.pi / 2)),
    )

    # Cube
    commands.spawn(
        Mesh3d(meshes.add(Cuboid(1.0, 1.0, 1.0).mesh())),
        MeshMaterial3d(materials.add(StandardMaterial.from_color(Color.srgb_u8(124, 144, 255)))),
        Transform.from_xyz(0.0, 0.5, 0.0),
    )

    # Light
    commands.spawn(
        PointLight(shadows_enabled=True),
        Transform.from_xyz(4.0, 8.0, 4.0),
    )

    # Camera
    commands.spawn(
        Camera3d(),
        Transform.from_xyz(-2.5, 4.5, 9.0).looking_at(Vec3.ZERO, Vec3.Y),
    )

@entrypoint
def main(app: App) -> App:
    return app.add_plugins(DefaultPlugins).add_systems(Startup, setup)

if __name__ == "__main__":
    main().run()
Run it
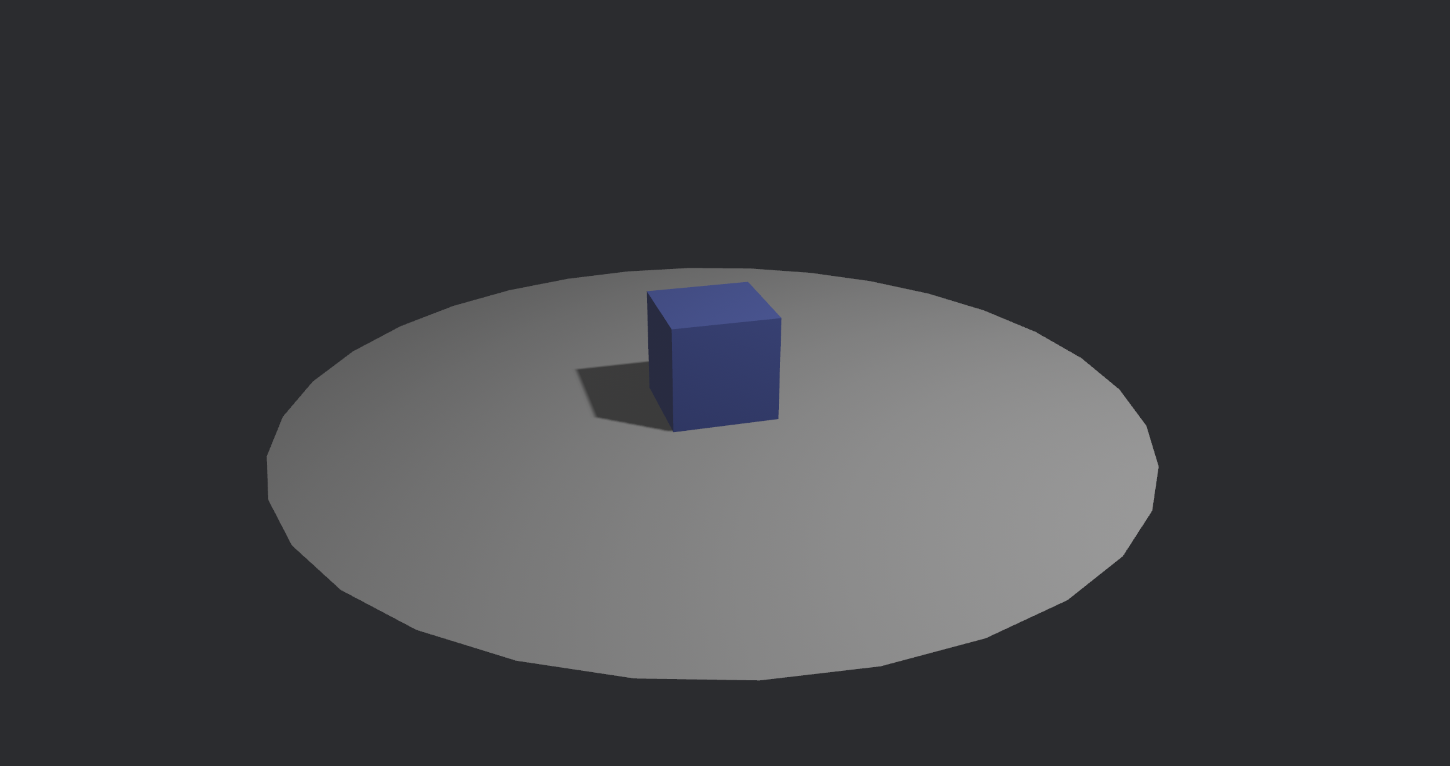
pybevy watch --full main.pyA window opens with your 3D scene.
Try hot reload
With the app still running, open main.py and change the cube's color:
MeshMaterial3d(materials.add(StandardMaterial.from_color(Color.srgb_u8(255, 100, 100))))Save the file. The cube turns red instantly — no restart needed.
Tip: Hot reload works for any change — colors, positions, new entities, system logic. This is how you'll spend most of your development time.
AI Feedback Loop
PyBevy includes a built-in AI feedback loop. Connect your coding assistant — it writes Python, reloads the scene, captures a screenshot, sees the result, and refines.
# Claude Code
claude mcp add pybevy -- pybevy mcp

# Codex CLI
codex mcp add pybevy -- pybevy mcp

# Gemini CLI
gemini mcp add pybevy pybevy mcp
Then describe what you want. The AI writes the code, sees what it built, and iterates — typically 2–4 rounds to a polished scene.
See the AI Feedback Loop guide for the full setup and configuration options.
Rust + Python
Have an existing Rust Bevy project? Add PyBevyPlugin to embed Python scripting —
for modding, rapid iteration, or using the Python ecosystem alongside Rust.
Add to Cargo.toml
[dependencies]
bevy = "0.18"
pybevy = { version = "0.2", features = ["native-plugin"] }
Wire up the plugin
use pybevy::PyBevyPlugin;
use bevy::prelude::*;

fn main() {
    App::new()
        .add_plugins(DefaultPlugins)
        .add_plugins(
            PyBevyPlugin::new("game")
                .with_python_path("scripts")
                .with_startup_system("setup")
                .with_update_system("rotate_cube")
                .with_hot_reload(),
        )
        .run();
}
Create scripts/game.py with functions named setup and rotate_cube — same
syntax as above. Rust calls them each frame. Edit Python, press F5 to hot-reload.
You can also share components across languages with #[derive(PyComponent)] — Rust
defines the data, Python reads and mutates it. See the
Rust Interop guide for the full walkthrough.